Programming
13 May 2012 12 Comments

Hello World with JSF 2.0, Glassfish 3, Maven, SVN and Eclipse

Introduction

Serious Java Web application development requires a lot of different applications. In addition to a JDK, an IDE and an application server you may need a Web application framework, a build system and some form of version control. Unsurprisingly, getting set up for development can be quite the task.

In this post we’ll take a look at setting up a Web application project from start to finish. The software we will use is:

What Are We Building?

Different applications come in different forms.

  • A Windows application written in C++ may be compiled to a .exe file.
  • Runnable Java GUI applications often come in a JAR (Java ARchive).
  • Java Web applications are packaged in WAR and EAR files.

We are building a Web application, so the product of building our project will be a WAR file. The Glassfish application server extracts a WAR file and runs the application inside it. The WAR file also contains a deployment descriptor, web.xml that describes how the application server should run the WAR.

The structure of a WAR file looks like this (source):

Project Setup with Maven Archetypes

Now that we know what we are building, it is time to start setting up the project. The directory/file structure…

Programming
1 May 2012 2 Comments

How to Add a New Eclipse Project to an SVN Repository

Introduction

Any serious development effort requires some type of version control software such as Subversion (SVN). Eclipse has excellent SVN support through the Subclipse plugin. In this document we will see how a new Eclipse project can be checked into an SVN repository, and give some tips for organizing your repository.

If you are to learn one thing from this guide it is that you should think carefully about commiting IDE-specific files.

Installing Subclipse

First we install the Subclipse plugin into Eclipse to enable SVN support. This plugin includes the Subversion client, and integrates SVN into the Eclipse interface.

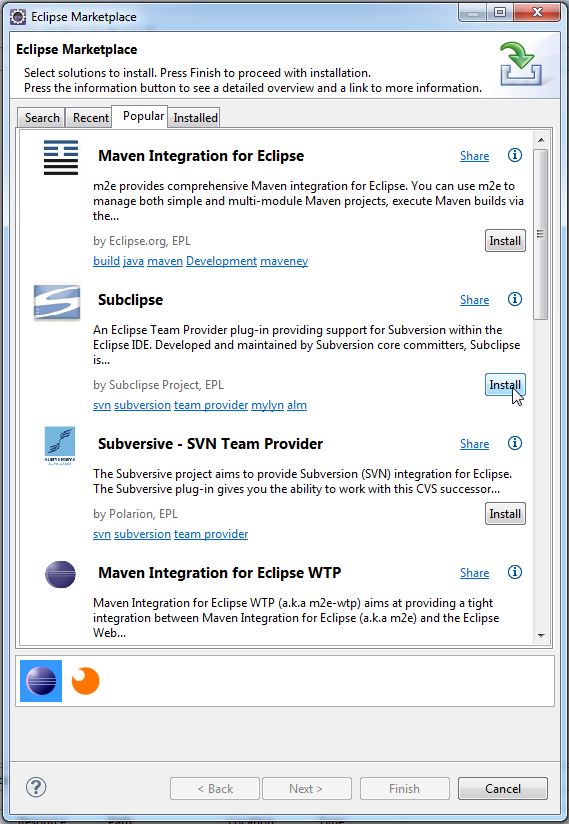
1) Open the Eclipse Marketplace through Help -Eclipse Marketplace.

2) Search for Subclipse, and click Install.

3) Select all available Subclipse modules for installation, and accept the license agreement. Choose to restart Eclipse when prompted.

Connecting to Your Repository

With Subclipse installed we can now connect to an SVN repository, check out code, commit changes, and more of that good stuff. Subclipse provides several new views that will help us with these SVN tasks.

1) Go to Windows -> Views -> Other to open a list of all available views. …